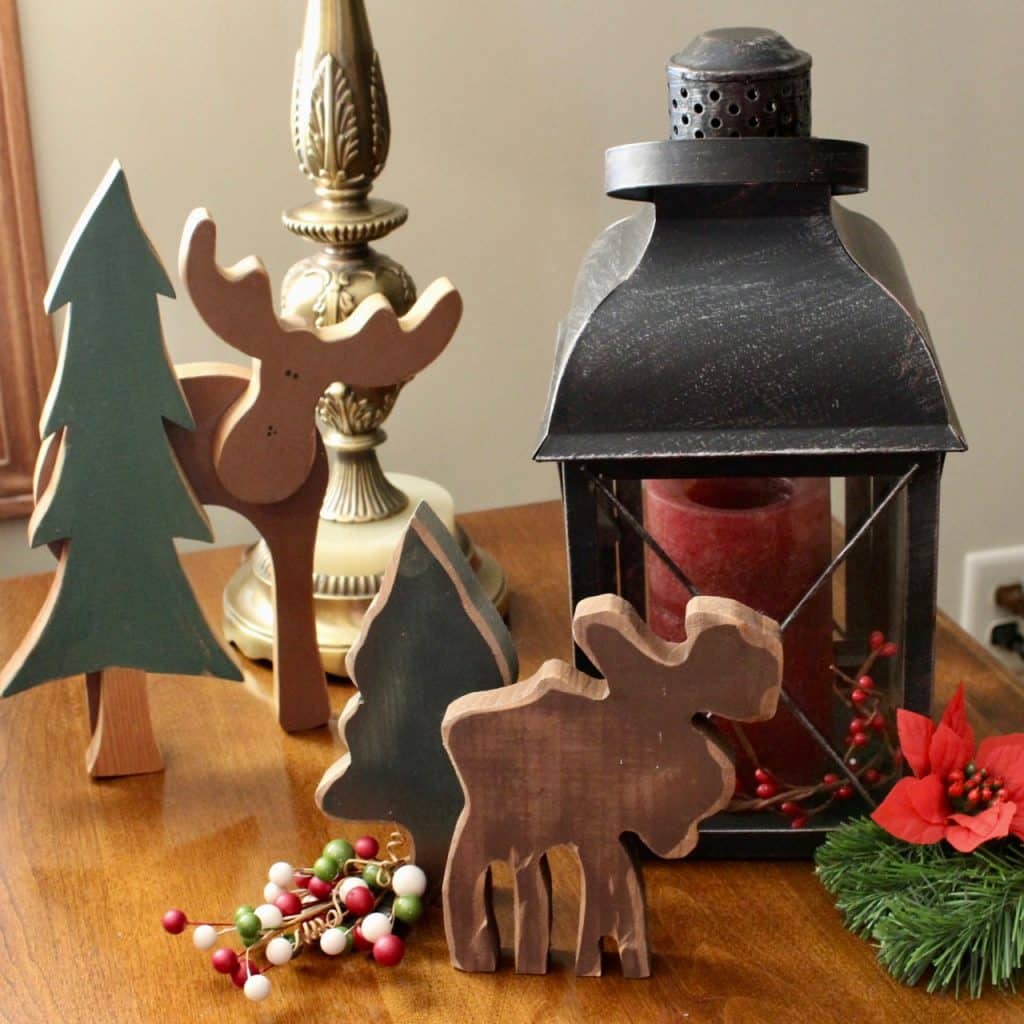
DIY Woodland Theme Christmas Decorations
This is Part Two of the DIY Woodland Theme Christmas Decorations. Check out Woodland Ornaments here.


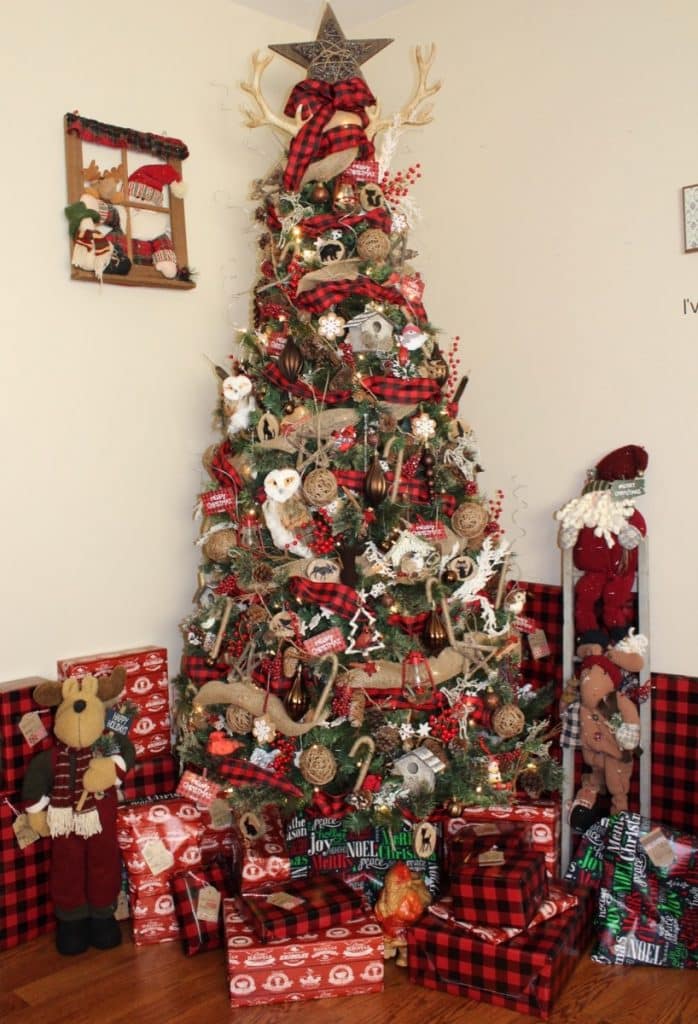


Woodland Christmas Theme Decorations
My Christmas theme changes every year, from tree decorations to the matching elements adorning tables and walls of the living room. It’s chosen by Christmas Day to allow it to unfurl through the course of the year. And don’t you know, the cards, wrapping paper and tags have to match. I’m excited for the DIY Woodland Theme Christmas Decorations.
These directions are straight forward, simple, and approximate – if you need detailed instructions, you’ve come to the wrong place.
Large Star Decoration
The star ornaments were so easy and cute; I made a large one to hang on the wall.
- Find 1” diameter branches.
- Cut the branches to 12” each.
- Criss-cross the sticks to form a star.
- Add a dab of hot glue to hold the sticks in place.
- To make the stars sturdy and complete the primitive look, wrap twine around each intersection. I added a sprig of red berries to each wrap.

This is a great bargain for a nickel’s worth of twine and ten drops of glue.
Birch Branch Tiered Candleholders
A perfect addition to the DIY Woodland Theme Christmas Decorations, these Birch Branch Candleholders are next-to-free. I found 4” diameter birch branches hanging out in the woods (fallen branches) and lugged them home.
- Cut the branches to 4”, 6” and 8” at the straightest part of the limbs.
- Use a hole saw to drill cups into an end of each section.
- I put a tealight candle in each indention but was concerned about starting a fire. I ended up buying a multi-pack of glass votive cups to be safe.


This free project ended up costing two dollars, a small price to pay for peace of mind. Another option would be to use flameless LED Tea Light Candles.
Birch Branch Centerpiece
One of the birch branches had an interesting knob which prevented it from rolling. Three cups, drilled with a hole saw, produced a nice centerpiece for the coffee table. I added glass votive cups to create this two-dollar beauty.
Birch Branch Bucket
While cutting the candleholders, cut the knobby and crooked branches into various sizes. Throw them into a bucket and viola; you have an awesome addition to the setting. This alone hollers Woodland Theme Christmas!
DIY Craft Trees
I found a set of four graduated cardboard cones online for six dollars.
- Smear glue on the first cone and clump Spanish moss on it. I went all out and glued a stem of red berries on the side. That was easy.
- Digging in my lace bin, I found a section of ruffle, and hot glued that on a cone. Nice, simple, and impressive.
- Red crocheted lace provided a nice contrast for the next cone. It looked unfinished, so I dabbed hot glue and fastened a string of white beads around the tree. Cute.
- I went all out to tie the trees together. I slathered glue on a cone, wrapped it in burlap, and hot glued the edge to secure it. Next, I hot glued a piece of lace, with white beads dotting the center, in a spiral pattern around the tree. Red bows completed the look and tied all four trees together.

Woodland Twig Tree
- Gather 3/4” diameter twigs.
- Cut them in graduated sizes, stacked to form a tree.
- Use a thin but sturdy metal rod found at the hobby store (I kicked myself for getting rid of wire hangers). A floral wire stem or wood dowel rod would also work for this project.
- Cut a 3” diameter branch, 2” thick for the base.
- Drill a 1” deep hole in the center of the base, slightly larger than the rod.
- Cut a 3/4” diameter twig to 2” for the trunk.
- Drill a hole through the center of the trunk.
- Drill a hole in the center of each twig that will form the tree, slightly larger than the rod.
Let’s put it together!
- Place a dab of glue in the base hole and insert the rod.
- Slip the trunk over the rod and let it settle on the base.
- Thread each twig over the rod.
- Use wire cutters to trim the rod, leaving an inch above the last twig.
- I hot glued two unpainted wood stars together around the rod.
- Arrange the branches to your preference.
This charming primitive tree cost ten cents (for the dots of glue and stars) if you happen to have a wire hanger in your closet.
DIY Cardholder
Here’s a tough one. Not.
- Buy a 7/16” x 3-1/2” x 6′ natural wood fence picket, mine cost $1.30.
- Split the picket in half, lengthwise.
- Cut one of each length; 36”, 24”, and 12” to equal 6’.
- Cut one of each length; 20”, 16”, 12”, and 8”. You will have a 16” length leftover for another project.
- Paint the wood in contrasting colors or decoupage scrapbook paper onto the planks.
- Staple the planks onto the 36” trunk. I preferred the crooked look.
- You will need 33 small binder clips to hold the cards. Staple them in place for the best results.


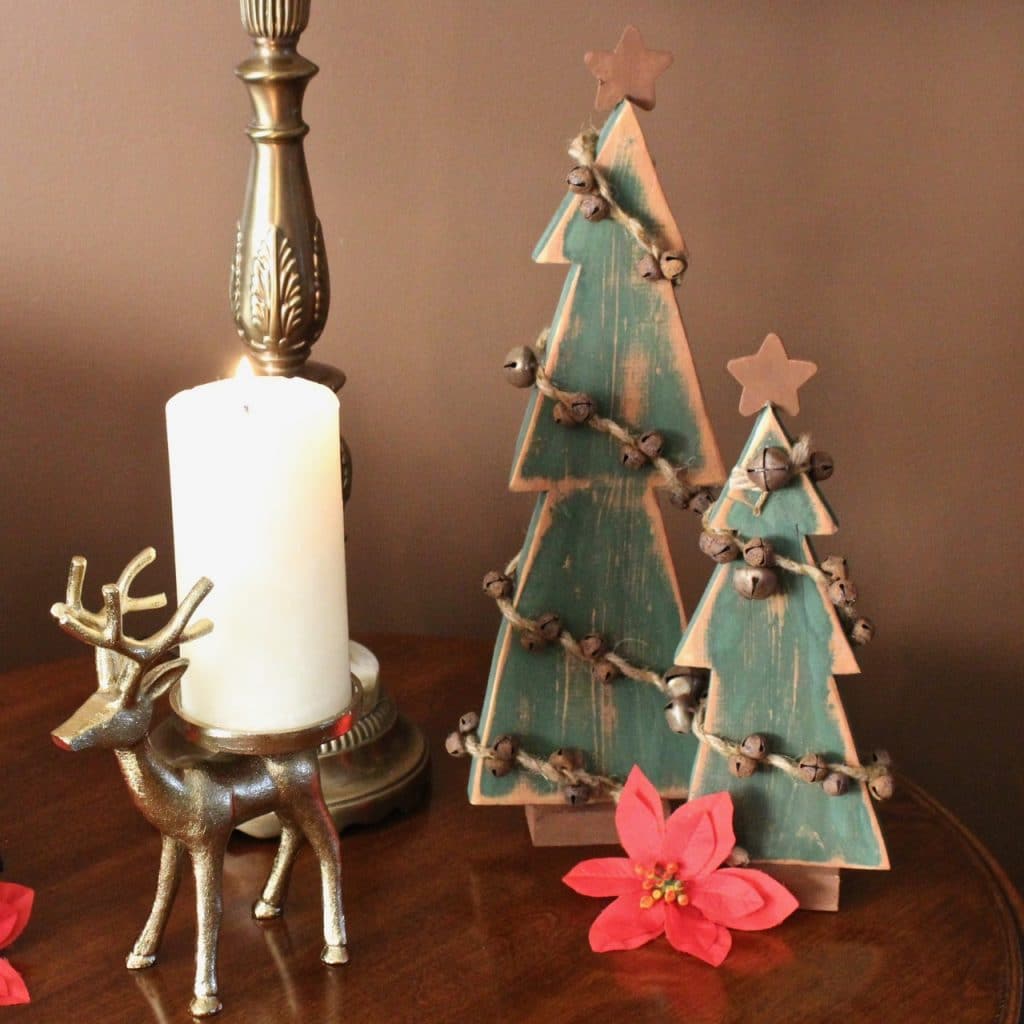
Woodland Tree Cutouts
- Draw a lopsided tree on a fence picket (described in the cardholder instructions).
- Cut it out with a saw.
- Paint it green.
- Use a sander to scuff the surface and edges.
- Paint a wooden star. I chose brown for the rustic look.
- Glue the star to the top.
- Glue the tree to a piece of leftover wood to make a trunk.
- Wrap the tree with rusted wire or jingle bell garland and secure with hot glue.
Sprinkle sawdust in your hair to make it look like you worked hard. I found jingle bell garland at the dollar store, so each tree cost about sixty cents.
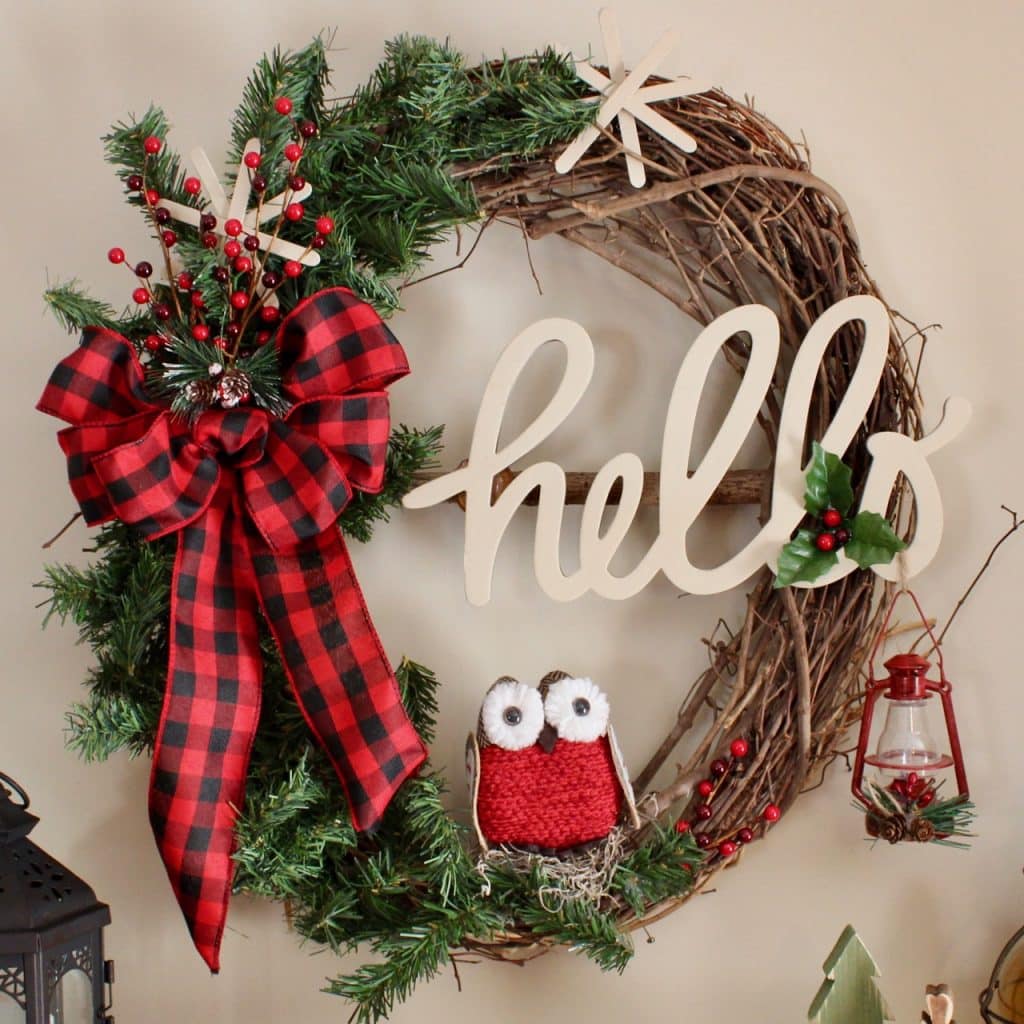
DIY Woodland Theme Wreath
- Buy a grapevine wreath or take an ugly one apart as I did.
- Borrow a broom handle from the garage and cut it to the width of the wreath.
- Wedge it into the vine in the middle of the wreath and hot glue it into place.
- Snip some fake evergreen garland from your neighbor’s porch – okay – it’s from the strand my husband uses on our porch but don’t tell him.
- Make a bow from the leftover buffalo ribbon you used on the tree.
- Stick a couple of red berry picks above the bow.
- Use popsicle sticks to make snowflakes. Add them to the wreath.
- Buy a welcome sign from the craft store; they come in galvanized metal, wood cutout, or chipboard. I couldn’t pass up the hello sign! I painted it tan to match the popsicle stick snowflakes.
- It’s tricky to add the sign. I twisted wire between the ‘L’ and ‘O’ and through the wreath. I hot glued the other end to the broom handle. Ah, now we know its purpose.
- I made a nest of Spanish moss and added a huggable owl.
- I used twine to hang a lantern off the ‘O’.
- Add a red berry pick next to the owl to tie the wreath together.
Woodland Christmas Decorations
Thank you for checking out the DIY Woodland Theme Christmas Decorations. For more ideas, take a look at DIY Woodland Christmas Ornaments, Click here.
Stay Tuned!
This year’s theme is Christmas cookies. I can hardly wait to bring it together. Stay tuned!
2 thoughts on “DIY Woodland Theme Christmas Decorations”